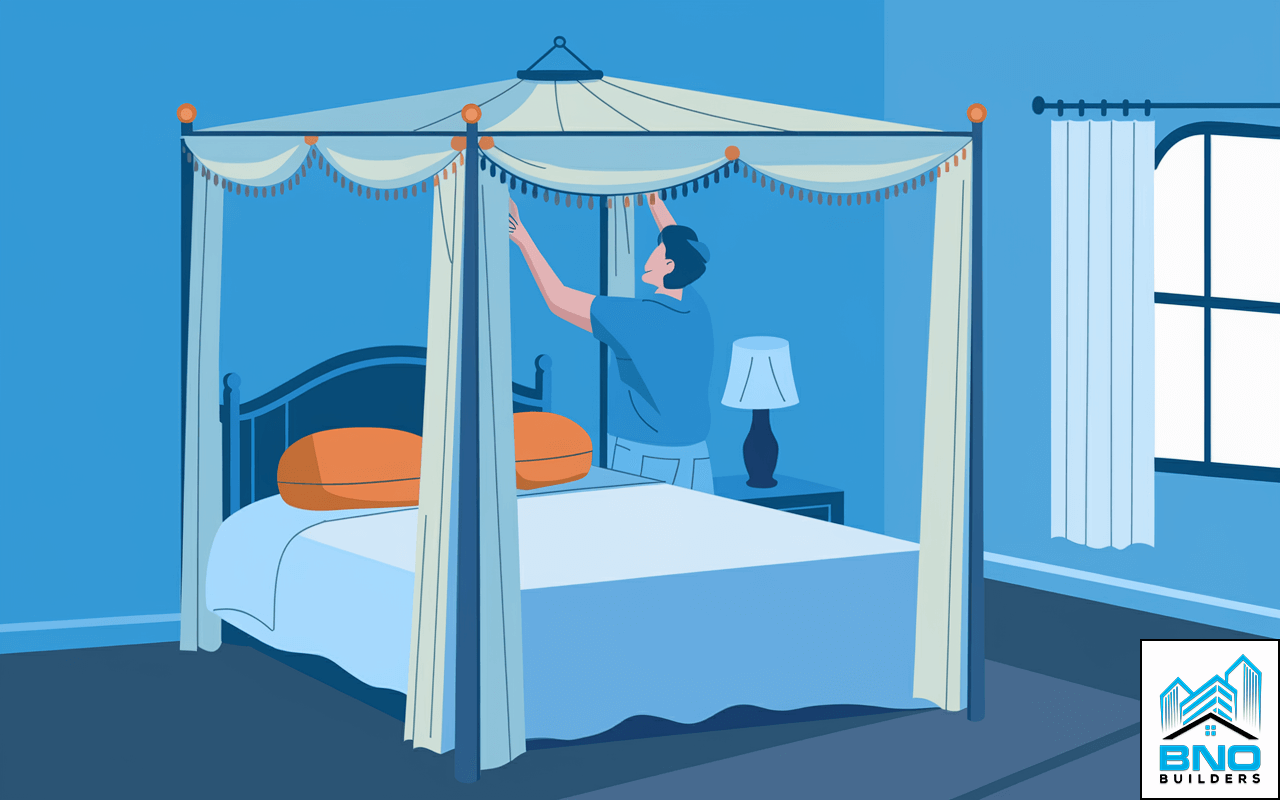
How To Hang A Bed Canopy?
4 MIN READ
September 4, 2024
Hanging a bed canopy can transform your bedroom into a luxurious retreat, adding both style and comfort to your sleeping space. Whether you’re looking to create a romantic atmosphere or simply want to add a touch of elegance to your room, installing a bed canopy is a relatively simple process that can be accomplished with some basic tools and a bit of patience.
How To Hang A Bed Canopy From The Ceiling?
Follow the steps below and learn how to hang a canopy yourself and get that perfect bed canopy look that you are aiming for. Here’s how to hang your bed canopy from the ceiling:
- Gather the Necessary Tools and Materials
- Measure and Mark the Canopy Placement
- Drill Holes for the Canopy Hooks
- Install the Hooks or Anchors
- Attach the Canopy to the Hooks
- Adjust and Arrange the Canopy Fabric
- Secure the Canopy for Stability
- Add Finishing Touches to Your Bed Canopy
1. Gather the Necessary Tools and Materials

Before you begin the installation process, it’s essential to gather all the tools and materials you’ll need to hang a bed canopy. This preparation will help ensure a smooth and efficient installation. You’ll need:
- Measuring tape
- Pencil or marker
- Drill with appropriate drill bits
- Wall anchors (if needed)
- Screw hooks or ceiling hooks
- Ladder or step stool
- Bed canopy
2. Measure and Mark the Canopy Placement
Carefully measure and mark the spots where you’ll install the hooks for your canopy. Start by measuring your bed and deciding how much of an overhang you want for the canopy. Typically, you’ll want to place hooks slightly wider than your bed frame and about 12-18 inches from the head and foot of the bed. Use a pencil to lightly mark these spots on the ceiling, ensuring they’re evenly spaced and aligned with your bed.
3. Drill Holes for the Canopy Hooks
Once you’ve marked the spots for your hooks, it’s time to drill.
- If you’re drilling into a wooden beam, you can drill directly into it.
- For drywall ceilings, use a stud finder to locate the ceiling joists for the most secure installation. If you can’t drill into a joist, you’ll need to use wall anchors for added support. Drill pilot holes at each marked spot, making sure they’re the appropriate size for your hooks or anchors.
4. Install the Hooks or Anchors
If you’re using wall anchors, insert them into the drilled holes now. Then, screw the hooks into the anchors or directly into the pilot holes if you’re attaching to joists. Make sure the hooks are securely fastened and can support the weight of your canopy. Turn each hook until it’s fully tightened and pointing in the direction you want your canopy to hang.
5. Attach the Canopy to the Hooks
Now comes the exciting part – hanging your canopy! Depending on your canopy’s design, you may need to thread it onto a rod or attach it directly to the hooks.
- If using a rod, place the rod through the canopy’s loops or pockets, then hang the rod on the installed hooks.
- For canopies that attach directly, simply loop the canopy’s attachment points over the ceiling hooks.
6. Adjust and Arrange the Canopy Fabric
Once your canopy is hung, take time to adjust and arrange the fabric for the desired look. Spread the fabric evenly around your bed, ensuring it drapes nicely and creates the atmosphere you want. You may need to gently tug and smooth out wrinkles or folds to achieve a polished appearance.
7. Secure the Canopy for Stability
To prevent your canopy from swaying or shifting, you may want to secure it further. This can be done by attaching the lower corners of the canopy to your bed frame or nearby walls using additional hooks, ties, or even decorative tiebacks. This step is especially important if you live in an area prone to drafts or if you have ceiling fans.
8. Add Finishing Touches to Your Bed Canopy

With your canopy securely in place, it’s time to add those final touches that will elevate your bedroom’s look. Consider adding fairy lights for a magical ambiance, attaching sheer curtains for extra privacy, or incorporating decorative elements like ribbons or artificial vines. These finishing touches will personalize your canopy and complete the transformation of your sleeping space.
How To Hang A Canopy Without Drilling?
If drilling into your ceiling isn’t an option, don’t worry! There are several alternative methods to hang a bed canopy without causing permanent damage to your walls or ceiling. One popular option is to use adhesive hooks or strips designed to hold significant weight. Here’s how you can hang a canopy without drilling:
- Gather the Necessary Tools and Materials
- Use Adhesive Hooks or Strips
- Attach Command Hooks to the Ceiling or Wall
- Hang the Canopy Using Curtain Rods or Tension Rods
- Use a Canopy Bed Frame or Poster Bed
- Secure the Canopy with Canopy Rings or Clips
- Adjust and Arrange the Canopy Fabric
- Add Decorative Touches to Your Bed Canopy
Ready to elevate your bedroom style with a stunning bed canopy? Discover how BNO Builders can transform your space with expert San Jose home renovation services. Contact us today to start your journey toward a luxurious, customized retreat!